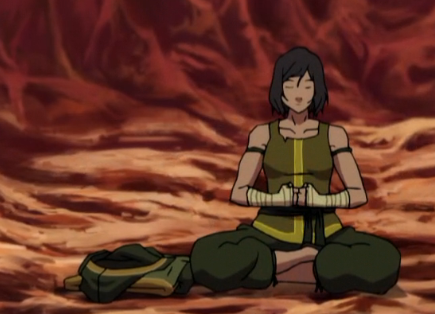
The January Auckland Cosplay Picnic gave a good incentive to finish my second cosplay - once again, Korra. But this time from Book 4, in her Earth Kingdom garb. Turned out to be perfect for a picnic!
I started with the pants, as they were very similar to her season 1 outfit.
The cuffs were cut and sewn separately, then sewn into the pants. I put elastic in them it keep them taut. The ties were made much later.
Next up, the backpack! This was a pretty fun part. I learned how to make (and sew) piping, and used sew-in interfacing for the first time. I prefer iron on, though.
The tutorial I used was
this one, minus a few bits and pieces.
 |
| Sewing the interfacing in |
 |
| Sewing the piping! This fabric is from the dress I'm using for Post Apocalyptic Jane |
 |
| Sewing it together |
 |
| The outside complete |
 |
| Added some lining from some fat quarters I had lying around |
 |
| Strap sewn in, flap sewn on, and an elastic closure added |
I then started work on the top. This time I used what I learned from a draping panel at Armageddon, and it came out pretty well!
 |
| The darker green was very hard to find. I wanted to use a natural fibre, but there was only polyester! |
 |
| The detailing is sewn together |
 |
| And the complete tunic |
At this point I think the picnic was only a week away, and I started panicking a wee bit. My wig hadn't arrived, and I didn't want to cut my hair. I had kind of started the shoes, but still had a number of small things to finish off. I dug my heels in and got back to work!
 |
| I pulled apart these old, worn shoes to make the template |
 |
| The outers are done! |
 |
| As well as the insole - cardboard with craft foam, then fabric sewn onto it |
 |
| After a lot of hot glue, the end result |
My wig arrived with plenty of time to spare - I'm very pleased with the quality! It needs a bit of styling, but would do for the picnic.
The night before the picnic, I made the belt and attached the button to the backpack. Oh wait, what button? I don't have a big yellow button!
3D printer to the rescue! In half an hour, I had a perfect yellow button, which I attached with leftover piping I turned through.
And here's the end result!


No comments:
Post a Comment